Every individual or businesses requires a blog for their website to share and interact with their audience, this increases your exposure online and boost your users interaction with your business. This is also good for SEO, if you’re targeting a couple of long tails this good to help the link building boost! If you’re having a hard time choosing a blog layout, and wanted to use a simpler one, you’re in for a treat! Today’s tutorial is how to make a blog layout in Photoshop. We will use a simple two-column, since it’s the trend nowadays 🙂 and minimalist design.
Downloads are at the bottom of this tutorial.
Things that we need:
- League Gothic Font
- Roboto Font
- Droid Serif
- Crown from IconArchive
- Entypo Icons
- Bokeh Wallpaper
Make a Blog Layout in Photoshop
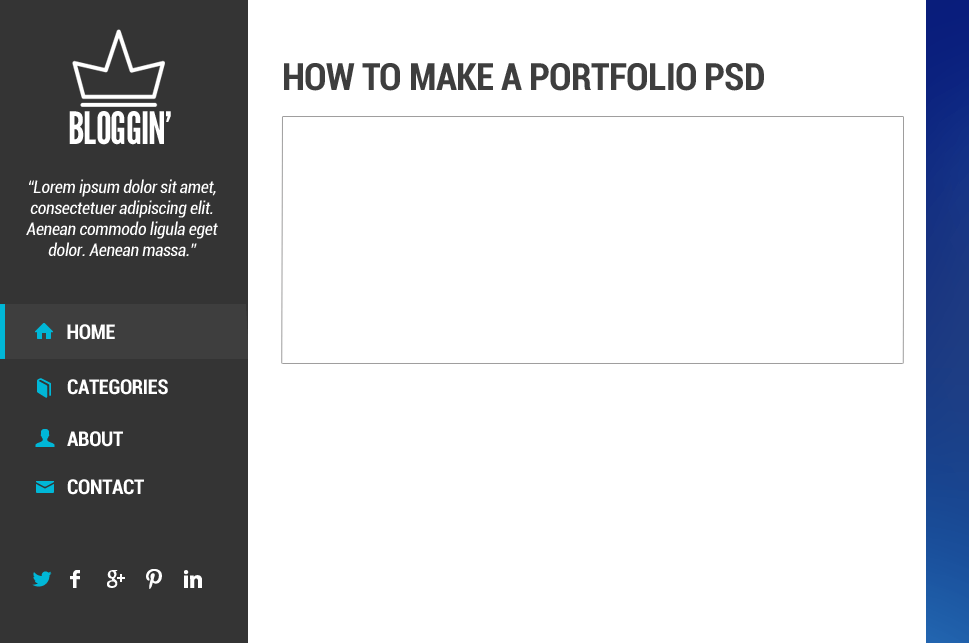
This is what we will do today, now ready and fire up your Photoshop!

Open your Photoshop and set this sizes.

Next, drag the bokeh wallpaper and set Filter > Gaussian Blur 51.4px, position it properly so the effect would show on the right side of the layout.

Add a new layer CTRL +J and fill it with #FFFFFF, add another layer CTRL + J and make a 300px wide selection using Marquee Tool (M) and fill it with #343434.

Now, grab the crown icon from iconarchive.com and position it on the top left of the mock up. Right click on the layer > Color Overlay > and set it to #FFFFF. Add a text using League Gothic Font, 44.62pt color #FFFFF. You should also add intro text, for that I used Roboto Font 17pt.

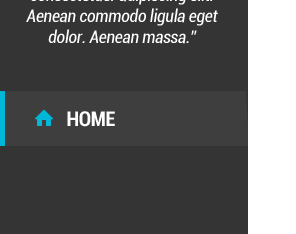
Now for the navigation, Use Roboto Font Bold Condensed 20pt. Create a new layer and use Marquee Tool (M) and select a certain area, like the image below. Fill it with #3E3E3E.

Next is the border on the navigation when it is on hover state, create a new layer select more or less 5px width on the very left of the navigation and fill it with #OOB7D7.

Here’s what it should look like! We also added the icon, to change it’s color right click on the icon layer > Color Overlay > and select the same color we used on the border.

Here is our complete navigation, we also added few social media icons on the side. Follow the instructions on how to change it’s color.

Next is the blog post section, use League Gothic Font 37pt color #3E3E3E. Create a new layer CTRL + J and fill it with #FFFFFF, right click on the said layer > Stroke > color #3E3E3E. size is 1px.

We added the image here, make sure you cropped it properly. The image is from the previous tutorial 🙂
Text used is Driod Serif 16pt color #3E3E3E. Make a little space at the bottom of the image, because we will put some icons in there.

Now, create a new layer CTRL + J and use Single Row Marquee Tool (M) and select the section below the text. Fill it with #00B4D5.

After that, create a new layer again CTRL + J and use the Marquee Tool and fill it with #00B4D5. Font is League Gothic color #FFFFFF.

The next thing to do is group the blog post folder CTRL + G and duplicate it by right click > duplicate folder. Add the social media icons on the left side of read more section and off you go!

It’s done! Watch out for the conversion of this PSD into HTML5, make sure you’re subscribe to get the notification straight from your inbox.
Hope you’ve learned something on how to make blog layout in Photoshop, feel free to comment if you have questions.
[sociallocker id=”3494″]Download Now![/sociallocker]


