Another Portfolio tutorial here guys, since there are more newbies struggling to get their first site design and layout. I did a couple of portfolio designs for you.
Today we will do a new layout and create a sleek portfolio layout in photoshop. You can download the PSD at the bottom.
Before we start, here are the things that we need.
- Pacifico from Fontsquirrel
- League Gothic from Fontsquirrel
- PT Sans from Fontsquirrel
- Abbe layout from our previous tutorial
- Iphone App layout from our previous tutorial
- Awesome Portfolio Layout from our previous tutorial
- Icons from here
- Social Media mini icons from Komodo Media

Start of Sleek Portfolio Layout Tutorial

Open a new canvas and set the width to 980, height 1606. Next fill the entire canvas with #F1F1F1

Grab your Marquee Tool (M) and select a 50px-like on the very top of the canvas, this will be our header. Fill it with #212121

On the left side, we will create our text logo. Grab Pacifico font, 39pt #ffffff

Right click on the text logo layer, select Blending Options > Drop shadow angle 138, foreground color is #00000, distance and size is 5px

On the right side, we will do our navigation. Put the text, we used Arial Bold #ffffff, 14pt

In navigation drop shadow, set the angle to 138 foreground #000000 distance and size 5px
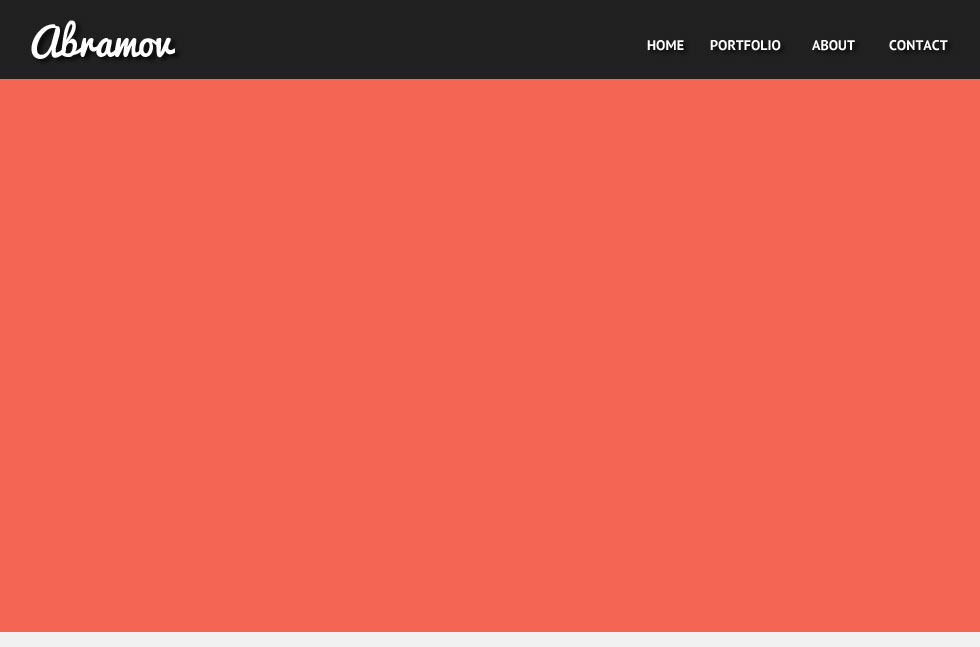
Next create a new layer named it slide-bg, fill it with #F46554

The layer where header and slide-bg meet, grab your Single Row Marquee Tool (M) and fill it using brush and foreground color #fa9588
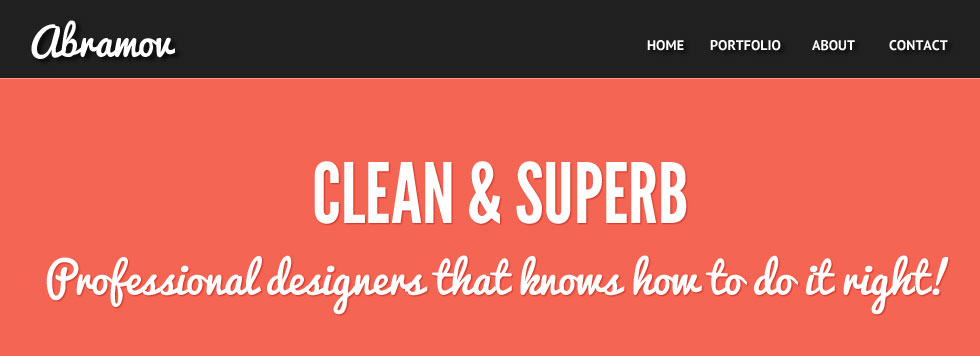
Next is to add the text on our homepage. First font used was League Gothic 83pt #FFFFFF, next is Pacifico 42pt #FFFFFF.
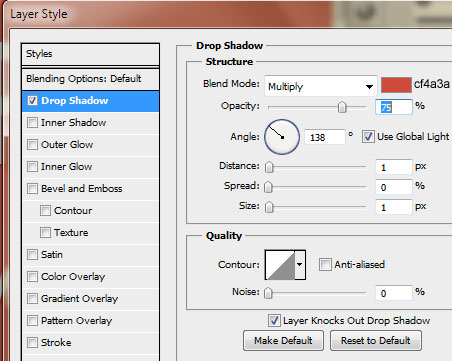
For the drop shadow, foreground is #cf4a3a angle is 138, distance and size is 1px

Next is to get the images from our previous tutorial, set it up like the one above.

For the Portfolio images drop shadow, foreground color is #000000 distance is 11px, size 29px

Create a new layer, use Marquee Tool (M) and fill in half the page. This will fill the rest of the images
![]()
Create a new layer, named this website-black and fill it with #212121
![]()
For the website-black layer, select drop shadow and foreground #8E8D8D, angle -90 distance and size is 5px
![]()
Stroke’s color #323232 and size 3px
![]()
Next, we will use the icons that we downloaded earlier. Title font is PT Sans 20pt #FFFFFF
![]()
For title font drop shadow, foreground is #000000 angle 138 and distance and size 5px
![]()
We also added some text, you should have the same image above

Below the website-black layer, we will a create a new layer named testi-bg fill it with #FFFFFF

Fill in the stroke foreground color #dddddd, size is 1px
![]()
Grab your Ellipse Tool (U) and hold SHIFT to make a perfect circle, name this avatar-holder
![]()
Now, drop the image that you’re going to use. (I use my own pic :)) make sure that this layer is on top of the avatar-holder

Right click on the image layer and select create clipping mask
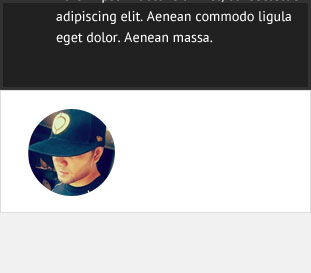
You’ll have something like this one, drag the image or resize it to fit

Next is to add a couple of text, we use PT Sans font 14pt #000000
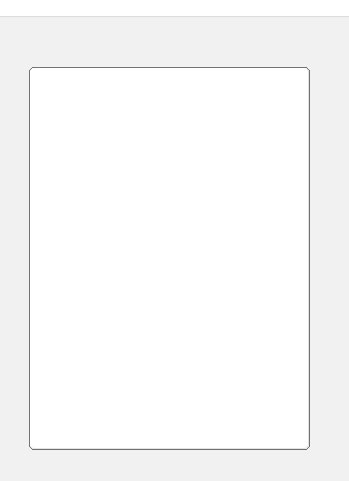
Now for our post body, grab Rounded Rectangle Tool (U) and set the radius to 5px and fill it with #FFFFFF

Grab this coming soon page image and right click > create clipping mask
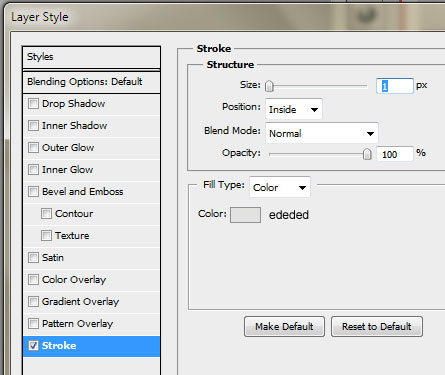
For the post body stroke, foreground color is #ededed size 1px

Group the post-body and image, and duplicate it. Just change the image and make sure they are all aligned, for the text font. Title is PT Sans Bold 14pt #000000, for the category PT Sans Italic #868686

For the footer, use Marquee Tool (M) to select the area and fill it with #212121, next do a Marquee Tool select for the lower part and fill it with #000000. Make sure that you do this on a new layer and cut it in three columns.

On the first column, we will add a small about text. Title font is PT Sans Bold 14pt #FFFFFF, the text is PT Sans Regular 12pt.

For the next column, we will create a flickr image. Grab your Ellipse Tool (U) and fill it with #FFFFFF
![]()
Next, add you image and right click > create clipping mask

In avatar-holder layer, right click > blending options and select stroke, set the size to 3px and color to #FFFFFF

We now have this 🙂

On the third column we will create a newsletter section, grab Rounded Rectangle Tool (U) and set the radius to 10px, fill it with #000000

Create a new Rounded Rectangle layer and cut off the left side, fill it with #F46554

Inner Glow foreground color #f56856, set size to 4px

Copy the gradient color settings above

In stroke, color is 8f1202 and size 1px

Here is our button, I also added a text in the textbox. Font used was PT Sans 13pt #FFFFFF
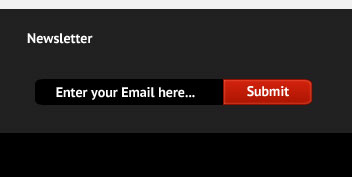
We also added a submit text on the button, font was the same with the text beside it.

For the submit text drop shadow, distance and size is 1px. Foreground color is #000000

Here is our completed footer, we also added a site title on the left side and social media icons from the right.
And we are done! 🙂
Our sleek portfolio layout is complete, we used different basic techniques and different approach on things. Hope you’ll find something new about this layout and you can use this for your personal projects.
[sociallocker id=”3494″]
Download Now![/sociallocker]

