On our last tutorial we created a coming soon page in photoshop. Today we will convert it to a fully working HTML5 and CSS3, and a little bit of Jquery for our timer. We can apply this when we have a newly acquired domain and we are still working on the design on our site.
You can download the HTML zip at the bottom of this tutorial!
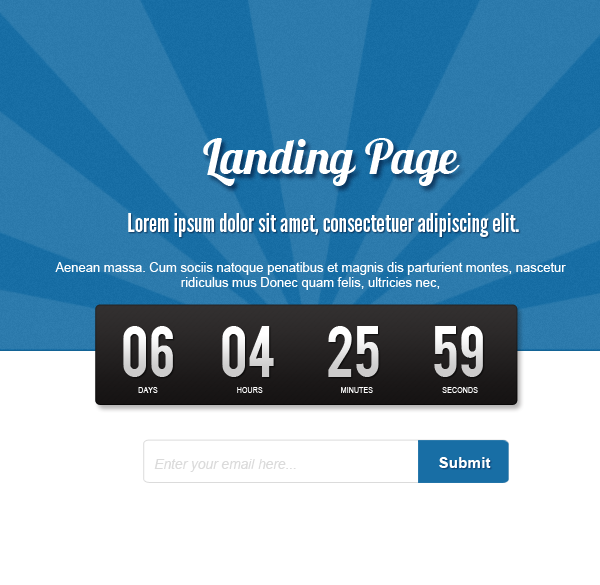
Let’s get down to business, open the PSD and we will crop those images that we will use on the page.
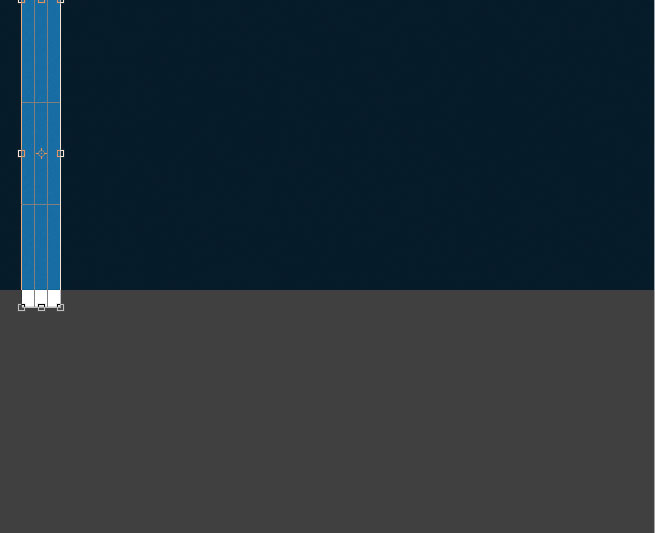
First is the background on the header, I grab the Crop Tool (C) and cropped a smaller part of the header. We will repeat this in CSS, save it as .png and named it bg

Next is the timer image, save it as png and name it timer.
You can view the demo here.
Now open your editor, mine is Dreamweaver. First thing that we will do is create the HTML before the CSS styling.
<div id="wrapper"><!-- wrapper -->
<div id="light"></div>
<article><!-- content -->
<div>
<h1>Landing Page</h1>
</div>
<h2>Lorem ipsum dolor sit amet, consectetuer adipiscing elit Aenean commodo ligula eget dolor</h2>
Lorem ipsum dolor sit amet, consectetuer adipiscing elit. Aenean commodo ligula eget dolor. Aenean massa. Lorem ipsum dolor sit amet, consectetuer adipiscing elit. Aenean commodo ligula eget dolor. Aenean massa.

<!-- Site Launch In  -->
<div id="countdown"><!-- countdown -->
<div><!-- .countdown_text -->
<div><!-- contactlist -->
<form>
<div><!-- newsletter -->
<input type="text" />
<input type="submit" value="Submit" /></div>
<!-- newsletter --></form></div>
<!-- contactlist --></div>
</div>
</article>
<!-- content --></div>
<!-- wrapper -->
Next, we will download a couple of fonts that we will use as font-face. [listing]
- Lobster link
- Bebas link
- Capsuula link
[/listing] Our folder structure should be like this: 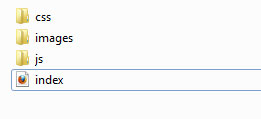 We should practice to always organize our folders and files, here is what our fonts folder looks like:
 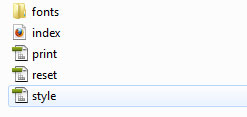 As you can see, our fonts has it’s own folder. We copied all the web fonts files and saved it in here from the downloaded fonts. Next is the CSS, just copy the codes below and I’ll explain those new to you.
@font-face {
font-family: 'BebasNeueRegular';
src: url('fonts/BebasNeue-webfont.eot');
src: url('fonts/BebasNeue-webfont.eot?#iefix') format('embedded-opentype'),
url('fonts/BebasNeue-webfont.woff') format('woff'),
url('fonts/BebasNeue-webfont.ttf') format('truetype'),
url('fonts/BebasNeue-webfont.svg#BebasNeueRegular') format('svg');
font-weight: normal;
font-style: normal;

}
@font-face {
font-family: 'Lobster13Regular';
src: url('fonts/Lobster_1.3-webfont.eot');
src: url('fonts/Lobster_1.3-webfont.eot?#iefix') format('embedded-opentype'),
url('fonts/Lobster_1.3-webfont.woff') format('woff'),
url('fonts/Lobster_1.3-webfont.ttf') format('truetype'),
url('fonts/Lobster_1.3-webfont.svg#Lobster13Regular') format('svg');
font-weight: normal;
font-style: normal;

}
@font-face {
font-family: 'CapsuulaRegular';
src: url('fonts/Capsuula-webfont.eot');
src: url('fonts/Capsuula-webfont.eot?#iefix') format('embedded-opentype'),
url('fonts/Capsuula-webfont.woff') format('woff'),
url('fonts/Capsuula-webfont.ttf') format('truetype'),
url('fonts/Capsuula-webfont.svg#CapsuulaRegular') format('svg');
font-weight: normal;
font-style: normal;

}
/*  Main  */
body {
background:#FFF url(../images/bg.png) repeat-x;
color:#000;
font-family: Arial, Helvetica, sans-serif;
font-size: 13px;
}
#light{
width:980px;
height:436px;
margin:0 auto;
background:url(../images/light.png) no-repeat top;
z-index:1;
}
.content{
width:980px;
margin:-260px auto 0 auto;
}
.logo{
text-align:center;
}
.logo h1{
color:#fff;
text-shadow:0 1px 1px #000, 2px 5px 6px #093356;
font-family: 'Lobster13Regular';
font-size:55px;

}
.content h2{
font-family: 'BebasNeueRegular';
font-size:20px;
color:#fff;
text-shadow:0 1px 1px #093356;
text-align:center;
margin:30px 0 0 0;
}
.content p{
font-family: 'CapsuulaRegular';
line-height:1.4em;
color:#fff;
font-size:16px;
text-align:center;
margin:20px 0 0 0;
}
#countdown{
margin:60px auto 0 auto ;
background: url(../images/timer_bg.png) no-repeat center;
width:462px; height:96px;
color:#fff;

}
#countdown_dashboard {
height: 110px;
}

.dash {
width: 100px;
height: 114px;
float: left;
margin: 10px 0 0 15px;
position: relative;
}

.dash .digit {
color: #FFFFFF;
float: left;
font-family: 'BebasNeueRegular';
font-size: 45pt;
font-weight: bold;
position: relative;
text-align: center;
width: 35px;
}
.dash_title {
position: absolute;
display: block;
top: 60px;
left: 8px;
font-size: 9pt;
color: #fff;
text-transform: uppercase;
letter-spacing: 2px;
}
/*contactlist*/
.contactlist{
width:400px;
margin:20px auto;
color:#3a3a3a;
}
.contactlist p{
color:#333;
margin-bottom:5px;
}.newsletter{
margin-left:50px;
}
.contactlist input[type="text"]{
float:left;
width:230px;
height:30px;
padding:3px;
color:#999;
font-style:italic;
border:1px solid #ccc;
-moz-border-radius-topleft:5px;
-moz-border-radius-bottomleft:5px;
-webkit-border-top-left-radius:5px;
-webkit-border-bottom-left-radius:5px;
border-radius-topleft:5px;
border-radius-bottomleft:5px;
}
.contactlist input[type="submit"]{
background:#186ea5;
border:0;
color:#fff;
padding:10px 5px;
cursor:pointer;
margin:0;
-moz-border-radius-topright:5px;
-moz-border-radius-bottomright:5px;
-webkit-border-bottom-right-radius:5px;
-webkit-border-top-right-radius:5px;
border-radius-topright:5px;
border-radius-bottomright:5px;
}
Most of the stuff here are pretty self-explanatory, if you’re not familiar with CSS3 I used a couple of them, like the double text-shadow ( text-shadow:0 1px 1px #000, 2px 5px 6px #093356;) and a couple of drop shadow and border radius. Moving on, we have a timer on our coming soon page. We will use Jquery on this one, I found a really neat tutorial that does that. You can find it here, I suggest that you download the jquery.lwtCountdown-1.0.js. Save the file on our js folder and insert the HTML on our page.
<div><!-- .countdown_text -->
<div id="countdown_dashboard">
<div>
<span>days</span>
<div>0</div>
<div>0</div>
</div>
<div>
<span>hours</span>
<div>0</div>
<div>0</div>
</div>
<div>
<span>minutes</span>
<div>0</div>
<div>0</div>
</div>
<div>
<span>seconds</span>
<div>0</div>
<div>0</div>
</div>
</div>
<!-- countdown_dashboard --></div>
<!-- .countdown_text -->
Insert this inside #countdown. Next is the script that we will put on the footer.
<script type="text/javascript" language="javascript">// <![CDATA[
 jQuery(document).ready(function() { $('#countdown_dashboard').countDown({ targetDate: { 'day':         20, 'month':     11, 'year':     2012, 'hour':     11, 'min':         0, 'sec':         0 } }); $('#email_field').focus(email_focus).blur(email_blur); $('#subscribe_form').bind('submit', function() { return false; }); });
// ]]></script>
Just after the closing #wrapper, put this script. Also add this following on the header after css styles link.
<script type="text/javascript" language="Javascript" src="js/jquery-1.4.1.js"></script><script type="text/javascript" language="Javascript" src="js/jquery.lwtCountdown-1.0.js"></script>
Make sure that you saved those files on js folder. You can check the page now, and see if the timer is working (I know it does! :D)
Like I said, you can use this on your personal project or client’s website, no attribution required but linkback is always nice 🙂
You can view the demo here.
Hope you learned and gained a useful resources that you can use today or in the future, I also use this page several times, just changing the name of the site. If you have other suggestion so we can make it flexible and easier to the community, don’t hesitate to ask in the comments.
[sociallocker id=”3494″]
Download Now![/sociallocker]

