Last month I was given a task, I need to create a 200×200 ad for my client. Today , I will show you how to create your own ad. Using the size 200×200 you’ll understand how an ad is created. This tutorial is for beginner if you’ve used Photoshop before that’ll be great, also you need to have Photoshop installed. I will provide the resources that you’ll need.
You can download the PSD at the bottom of this tutorial!
By the way, this is my first tutorial so please bear with me. I will try to explain every step, if you have some questions you can do so in the comments below.
Before we begin, here are the things we need:
Download this font CollegiateBlackFLF, and install it onto your computer.
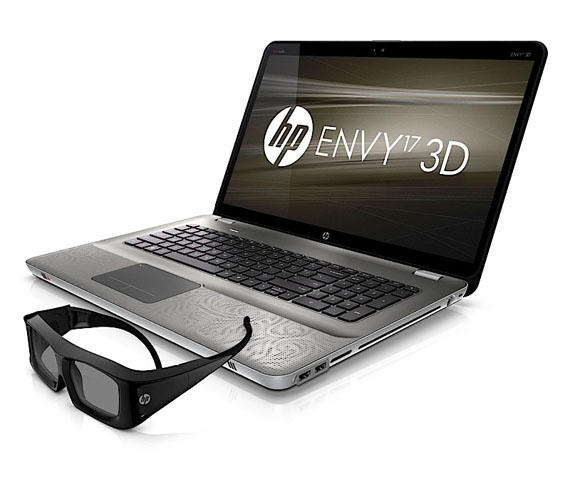
Download this image from HP Envy 17 3D.
Let’s begin
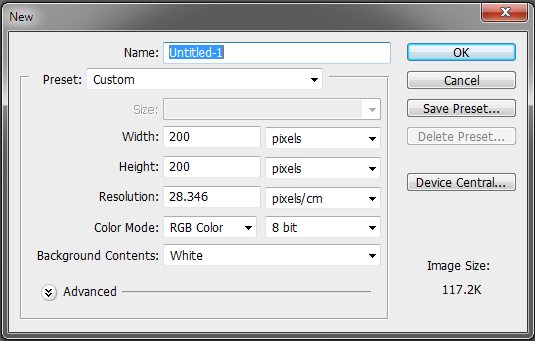
First, open your Photoshop and select the size 200×200.
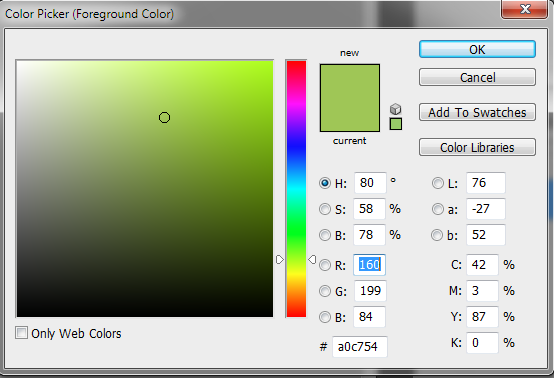
We will select our ground color which is #a0c754. Select your Bucket paint tool (G) to fill the canvas.
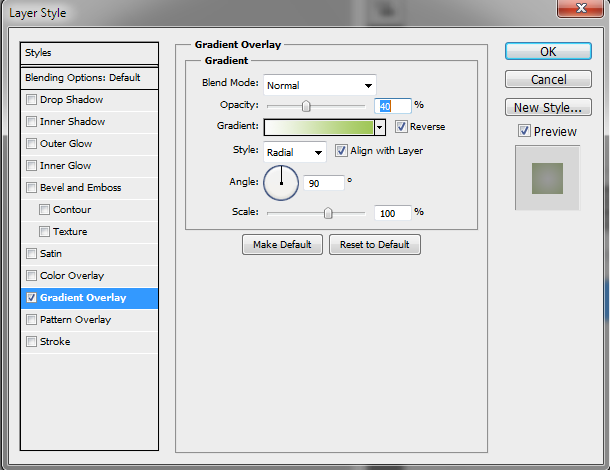
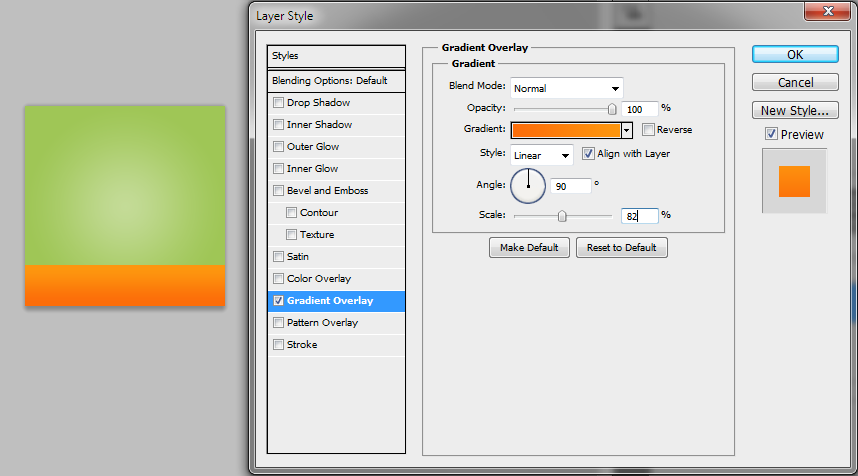
Make sure your background color is #ffffff. Then, we will add some gradients to it. Right click onto your layer and select Blending options>Gradient Overlay and select gradient, after that just copy the settings below.
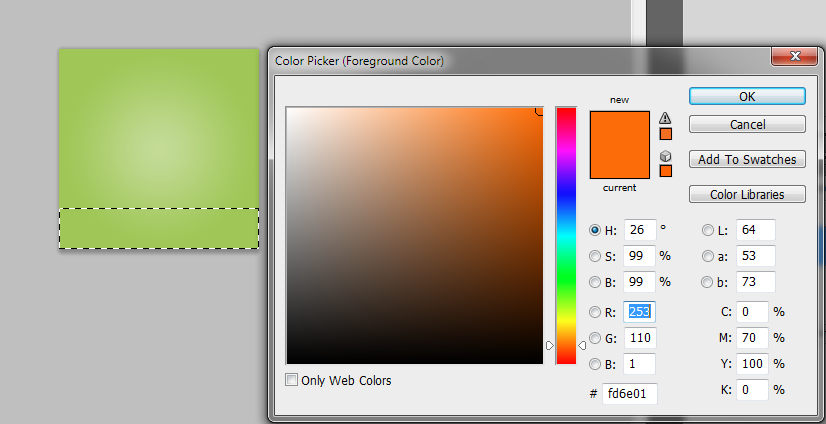
Now, create a new layer (Ctrl + Shift + N) and select Marquee tool (M). Then, set your foreground color to #fd6e01 and your background color to #fe9701. Use your Bucket paint tool (G) to fill the selected layer.
Now double click the layer and select Gradient overlay, follow the settings below.
You should have an image exactly like this, (if not, please read the tutorials carefully). Select new layer (Ctrl + Shift + N) and Marquee tool, right click and select Single Row Marquee Tool.
Select 1px from above of the image. Your foreground color should be #ffffff, Brush (B) and color the canvas. Change the opacity to 70%.
End up something like this; notice the white line we did before? It creates a light effect.
This is the ad that we will create, the new HP ENVY 17 3D with glasses. Pretty cool huh?
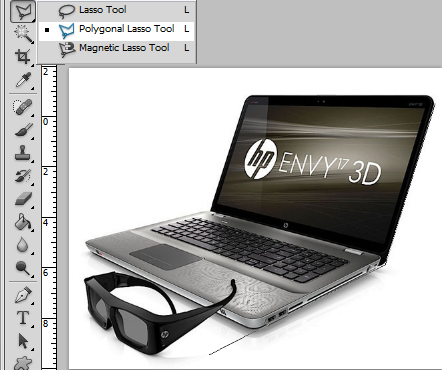
Now we want to clean the whitespace in the image. Select Polygonal Lasso Tool (L) and select the edges of the laptop. After that press delete in your keyboard.
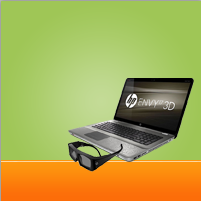
After that, we can now position the laptop in canvas. Follow the image below.
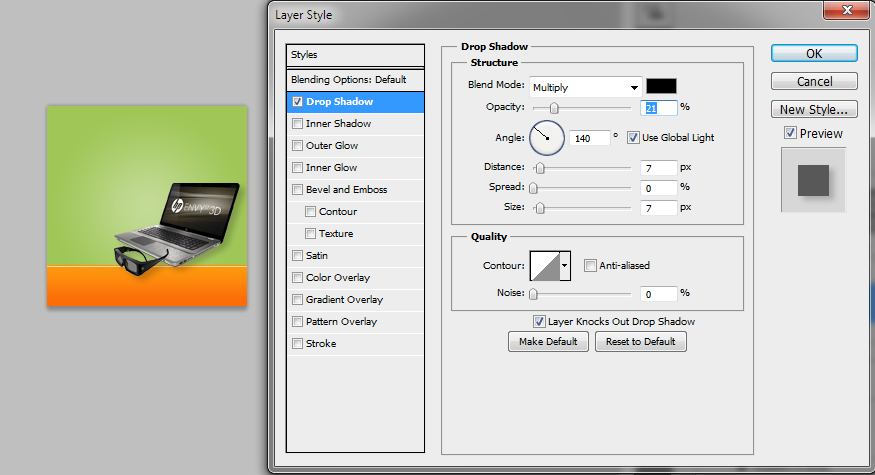
We will add some shadows to the laptop, to make it pop up on the canvas. Follow the setting below.
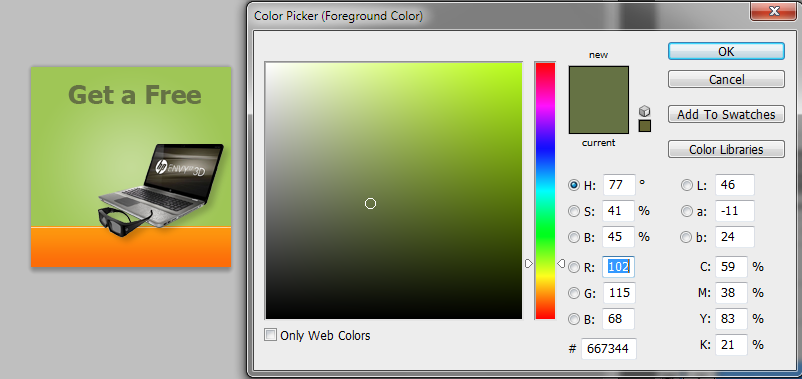
Now we will create our own text, this will attract the attention of your readers. Select our Text tool (T) in the top select Tahoma and Bold, 26pt will be the size of the text.
Select your foreground to #667344, and type Get a Free.
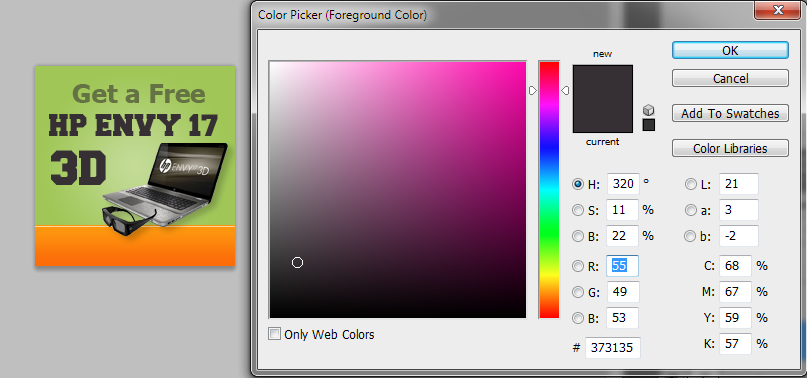
Change your foreground to #373135. With your text tool in hand, select CollegiateBlackFLF as your font and 26pt for the size type in “HP ENVY 17”. For the “3D” word the size is 41pt.
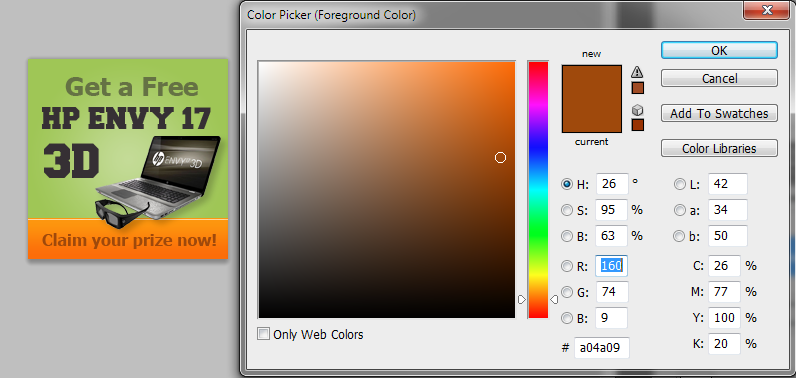
Select your foreground to #a04a09, and type “Claim your prize now!”.
Our final image! It’s been a long tutorial, but we learned a lot.
Using simple tools and a little bit of imagination we can create our own ads. Small space isn’t a problem either, and the ad looked simple and eye-catching. We’ve used two kinds of font to make it more interesting; we also used an image as a subject.
Most of the ads have some sort of animation to gather more attention; I didn’t cover that because I want to see how far your imagination will go. Hope you enjoy this tutorial as I did.
[sociallocker id=”3494″]Download[/sociallocker]


